


 English
 Español
 عربى
عربى
Oil Pressure Low Stop Engine but Oil Is Full: Causes, Fixes and Prevention
Content
- 1 What the Oil Pressure Low Stop Engine Message Really Measures
- 2 Why You See Oil Pressure Low Stop Engine but Oil Is Full: The Main Causes
- 2.1 1. A clogged oil filter or a stuck bypass valve
- 2.2 2. Wrong viscosity or degraded oil
- 2.3 3. Failed sensor, switch or wiring
- 2.4 4. Worn oil pump or a stuck relief valve
- 2.5 5. Worn bearings and opened clearances
- 2.6 6. Aerated or foamed oil
- 2.7 7. Sludge and a blocked pickup screen
- 2.8 Where the causes cluster
- 3 What to Do in the First Five Minutes After the Warning
- 4 How to Diagnose the Fault With a Mechanical Gauge
- 5 Where the Oil Filter Sits in the Pressure Path
- 6 ECO Cartridge and Spin-On Oil Filters Compared
- 7 Repair Costs: Why Early Diagnosis Pays
- 8 Prevention and Filter Sourcing for Workshops and Fleets
- 9 FAQ: Oil Pressure Low Stop Engine With a Full Oil Level
- 9.1 Why does my car say oil pressure low stop engine when the dipstick shows full?
- 9.2 Can I keep driving with the oil pressure low stop engine message showing?
- 9.3 Can a clogged oil filter cause low oil pressure?
- 9.4 Why does the light come on at idle but go off when I rev the engine?
- 9.5 How do I know if it is only a bad oil pressure sensor?
- 9.6 Does oil viscosity really affect the warning?
- 9.7 How often should the oil filter be replaced to keep pressure stable?
- 9.8 What oil pressure is normal at hot idle?
- 10 Key Takeaways
- 11 Related Reading and Resources
The message on the instrument panel reads OIL PRESSURE LOW STOP ENGINE, yet the dipstick pulls out clean, between the marks, clearly full. This combination confuses a lot of drivers, because the warning sounds like an oil level problem. It is not. The oil pressure low stop engine warning is triggered by oil pressure, and a full sump does not guarantee that the pump is actually building the pressure your bearings need. When the level is confirmed full, the fault sits somewhere else in the pressure path: a restricted oil filter, the wrong viscosity grade, a failed pressure sensor, a worn pump, a stuck relief valve, or bearing clearances that have opened up in a high-mileage engine. All of these deserve immediate attention, because a few minutes of running with genuinely low pressure can damage bearings faster than months of ordinary driving.
This guide walks through the whole problem in practical order: what the warning actually measures, why a full oil level can still mean low pressure, the causes ranked by how often they appear in service bays, the steps to take in the first five minutes, how a workshop separates a cheap sensor fault from an expensive mechanical one, and how to choose replacement oil filters that keep the hydraulic side of the engine healthy. The advice applies to passenger cars, SUVs, pickup trucks and the light commercial vehicles that share the same lubrication architecture.
Key point: the oil pressure low stop engine warning reports pressure, not level. When the oil is full, work through the filter, the oil grade, the sensor, the pump and internal wear, and shut the engine down first.
What the Oil Pressure Low Stop Engine Message Really Measures
Oil level and oil pressure answer two different questions. Level tells you how much oil is sitting in the sump; the dipstick measures it, and a full reading means the reserve volume is correct. Pressure tells you whether the oil pump is moving that oil with enough force to reach the crankshaft main bearings, the rod bearings, the cam journals, the lifters and the turbocharger shaft before metal contact begins. An engine can be perfectly full and still starved, because pressure is lost between the pump and those surfaces, not in the sump.
How the switch and the ECU make the decision
In most vehicles, a small pressure switch or sensor sits in an oil gallery near the filter housing or the cylinder block. Simple versions are pressure switches: below a calibrated threshold, often in the region of 3 to 10 psi at idle, the switch changes state and the control module lights the warning and shows the stop-engine message. More modern engines use analog pressure sensors, and the control module compares the live reading against a map of expected values for the current engine speed and oil temperature. If the measured pressure stays below the expected band for more than a second or two, the warning appears, sometimes together with an audible chime, a limp mode or, on a few designs, an automatic shutdown.
Because the threshold is deliberately low, the system only complains when pressure is genuinely marginal or when the sensor path itself is lying. That is the fork in the road for every diagnosis: is the pressure really low, or is the report wrong? Everything in the sections that follow exists to answer that one question cheaply and safely.
Where pressure is actually lost
The pressure path is short and easy to picture. The pump draws oil from the sump through a pickup tube and screen, pressurizes it, and pushes it through the oil filter into the main gallery. From there it branches to the bearings and the top end, and finally drains back. Pressure drops when the pump cannot move enough volume, when a restriction starves it, when the oil is too thin to hold the film, when a valve bleeds off too much flow, or when worn bearings leak flow faster than the pump can supply it. Notice that none of those failure modes depends on the oil level. A full sump with any one of them active will still light the warning.
Key point: the warning watches pressure at the gallery, not oil in the sump, so a full dipstick neither confirms nor clears the fault.
Why You See Oil Pressure Low Stop Engine but Oil Is Full: The Main Causes
With the level confirmed full, seven causes account for the overwhelming majority of cases. The order below runs from the cheapest to check to the most invasive, which is also broadly the order a sensible workshop follows.
1. A clogged oil filter or a stuck bypass valve
The filter is the one component in the pressure path that is designed to become restrictive on purpose, because that is what capturing dirt means. As the media loads up between services, the pressure difference across the filter grows. Every filter carries a bypass valve for exactly this moment, but the valve has its own limits: it can stick from varnish and sludge, it can be miscalibrated in a poor-quality cartridge, and in extreme cases saturated media can collapse and physically block flow. A filter that has quietly exceeded its service life, or a bargain filter with weak media, is one of the most common reasons a full engine suddenly reads low.
2. Wrong viscosity or degraded oil
Viscosity is the property that lets oil hold pressure, so grade matters as much as volume. Oil that is too thin for the engine, either because the wrong grade was installed or because fuel has diluted it, drains through bearing clearances faster than the pump can supply it, and hot idle pressure falls below the warning threshold. Oil that has sheared after a long interval behaves the same way. On the other side of the scale, oil far thicker than specification can also create misleading readings, particularly on cold starts, and it strains the pump. Grade guesswork is a recurring theme in low-pressure complaints, and the fix is simply to follow the viscosity printed in the owner's manual.
3. Failed sensor, switch or wiring
The reporting hardware itself fails often enough to be a standing suspect. Pressure sensors leak oil into the connector, corrode internally, drift out of calibration, or lose their ground; harnesses near a hot engine can crack and short. A failed sensor typically produces warnings that contradict the engine's behavior: the light comes on while the engine runs quietly and smoothly, with no ticking and no loss of power. This is the cheapest branch of the diagnosis to test, which is why a mechanical gauge check comes early in any competent procedure.
4. Worn oil pump or a stuck relief valve
The pump has two characteristic failure modes. Internal wear between the gears or rotors and the housing leaks oil back to the inlet, so the pump moves less volume per revolution, and the shortfall shows up first at hot idle, when clearances are widest and oil is thinnest. Separately, the pressure relief valve can stick open or hang up on debris, bleeding pressure straight back to the sump. Pump wear is a mileage story: it develops slowly, and the classic symptom is pressure that is acceptable at cruising speed but collapses at idle.
5. Worn bearings and opened clearances
Every drop of pressure the pump creates leaks out through bearing clearances by design; the pump only needs to keep up. As rod and main bearings wear, those clearances widen, the leakage rate climbs, and at some point the pump loses the race. The warning usually arrives alongside other evidence: a deeper knock under load, ticking lifters, or a history of extended oil change intervals. Bearing wear is the most expensive item on this list, and it is also the reason low-pressure warnings must never be ignored on high-mileage engines.
6. Aerated or foamed oil
Oil full of air bubbles does not transmit pressure the way liquid oil does, and the result is a low or wildly fluctuating reading. Aeration has several entry points: overfilling lets the crankshaft whip the oil into foam, a leaking pickup tube seal lets the pump suck air, and a failing crankcase ventilation system can push turbulence into the return path. The signature is an oil pressure reading that dances rather than sits still, often worse right after an oil change that slightly overfilled the engine.
7. Sludge and a blocked pickup screen
Engines that live on short trips with long change intervals slowly accumulate sludge, and some of it settles on the pump's pickup screen. A partially blocked screen starves the pump the same way a pinched straw starves your mouth. The pattern is distinctive: pressure is worse when accelerating away from a stop, because the sudden demand pulls the screen dry, and better at steady cruise when demand drops. Cleaning this up requires dropping the sump, but catching it early prevents the pump wear that always follows.
| Cause | Typical symptom pattern | First quick check |
|---|---|---|
| Clogged oil filter or stuck bypass valve | Warning late in a service interval; sometimes worse under load | Fit a correct OE-spec filter and retest |
| Wrong or degraded viscosity | Hot idle warnings, worse when fully warm, possible fuel smell on the dipstick | Verify grade against the manual; fresh oil of the correct grade |
| Sensor, switch or wiring | Light on while the engine runs quiet and smooth; erratic readings | Test sensor and circuit; confirm with a mechanical gauge |
| Worn pump or relief valve | Fine at speed, collapses at hot idle; gradual decline over months | Gauge test at hot idle versus 2,500 rpm |
| Worn bearings | Knock or tick under load; long change history; high mileage | Gauge test plus listening; oil analysis |
| Aeration or foaming | Fluctuating needle; worse after an overfill; valve train noise | Verify the level sits between the marks; inspect the pickup seal |
| Blocked pickup screen | Pressure dips pulling away from stops; sludge history; short-trip use | Drop the sump and inspect the screen |
Where the causes cluster
Numbers make it easier to plan where the first hour of inspection should go. The donut chart below shows a representative breakdown of low oil pressure complaints in which the dipstick tested full, compiled from recurring patterns that technicians report across service bays. Treat it as an illustrative field picture rather than a laboratory statistic, because the exact proportions shift with climate, fleet age and local maintenance habits. Even with that caution, the shape of the chart matches what most workshops see week after week. Use it to spend your time where the probability actually sits, starting from the cheapest checks.
Clogged or defective oil filter: about 30%
Faulty sensor, switch or wiring: about 25%
Wrong viscosity or degraded, diluted oil: about 20%
Worn pump or stuck relief valve: about 15%
Bearing wear, pickup screen and other mechanical causes: about 10%
Two conclusions stand out as soon as you look at the segments. First, more than half of the total sits in the two cheapest territories, the filter segment and the sensor segment. That is exactly why the first response to the warning should never be despair about the engine, but a systematic walk through the low-cost branches. Second, the viscosity and oil-quality segment, roughly one fifth of cases, is almost always self-inflicted through extended intervals, grade guesswork or fuel dilution. That slice is preventable with discipline rather than money, which is a rare and useful property in automotive troubleshooting. The mechanical segments, covering the pump, the relief valve, the bearings and the pickup screen, are the smallest on the chart but carry nearly all of the financial risk. They also rarely arrive unannounced, since a reading that drifts downward over months and idle noise are the usual advance notices. Notice what the chart implies about the order of operations. A mechanical gauge test resolves the cheap and the expensive branches at the same time, because it tells you whether the pressure problem is real before anyone spends money on parts. If the gauge agrees with the warning, you are in the smaller but serious slice, and the teardown questions begin. If the gauge disagrees, you have proven the sensor or its wiring is the culprit for roughly an hour of labor. Fleet operators read the same chart with a different eye: for them the filter segment is a supplier discipline problem, solved by specifying filters to the original equipment number with verified valve calibration. Whatever the reading, the practical moral is identical: a full sump changes which parts you suspect first, not how urgently you act.
Key point: with the oil confirmed full, the filter, the oil grade and the pressure sensor explain most cases and are the cheapest to check, so start there before assuming pump or bearing damage.
What to Do in the First Five Minutes After the Warning
The message includes the words stop engine for a reason, and the first minute matters more than the next hundred. Treat the following sequence as a drill rather than a debate.
- Lift off the throttle and find a safe place to stop on level ground. Avoid long uphill runs or hard cornering on the way, both of which slosh oil away from the pickup.
- Switch the engine off and leave it off. Idle time with real low pressure is exactly the time bearings die.
- Wait about ten minutes for oil to drain back, then check the dipstick on level ground. Confirm full, and look at the oil's condition: a gritty texture, a milky color or a fuel smell each points to a specific cause.
- Restart once and listen at the valve cover for two or three seconds. Ticking, knocking or a rattle that was not there before means shut it down and arrange transport. A quiet engine with a warning is a different, far less catastrophic branch.
- If the engine is quiet and the level is correct, note the conditions in which the warning appeared: idle or moving, cold or fully warm, steady or braking. Then drive gently, at moderate rpm, only as far as the nearest service point, and stop the moment noise appears.
- If the warning returns or stays on, do not continue. Recovery on a flatbed is cheaper than a crankshaft.
One pattern deserves special mention: the warning that appears at hot idle, clears the moment engine speed rises, and returns at the next red light. Drivers sometimes live with this for months because the engine seems to behave. That pattern is the textbook signature of a worn pump or widened bearing clearances, both of which are progressive. The same pattern can come from a drifting sensor, which is why the gauge test in the next section exists. Either way, the condition is on a one-way street, and the toll increases with every mile.
Key point: stop the engine first, verify the level and oil condition, listen once, and never keep driving with an active warning or new mechanical noise.
How to Diagnose the Fault With a Mechanical Gauge
Diagnosis has one central fork: separate a reporting fault from a pressure fault. Everything else follows from that single answer, and one inexpensive tool provides it.
The mechanical gauge test
The definitive step is simple: remove the oil pressure sensor, thread in a mechanical gauge or a tee with a gauge, and read true pressure. Run the engine to full operating temperature, record the reading at hot idle, then at around 2,000 to 2,500 rpm. Healthy passenger car engines commonly hold roughly 10 to 20 psi at hot idle and 30 to 60 psi or more at 2,500 rpm, but the numbers printed in the service manual for the specific engine are the only ones that count. Compare what the gauge shows with what the dash reports at the same moments, and the fault splits itself in two.
Reading the pattern
| What you observe | Most likely cause | Next step |
|---|---|---|
| Dash warns, but gauge pressure is within specification | Sensor, switch, wiring or cluster fault | Replace the sensor or repair the circuit, clear codes, retest |
| Gauge confirms low at hot idle, recovers with rpm | Worn pump, worn bearings or oil too thin | Verify viscosity first, then pump and clearance checks |
| Gauge low at idle and at speed, cold and hot | Severe mechanical restriction or pump failure | Inspect the pickup screen, pump and bypass valve |
| Reading flutters or oscillates | Aeration, overfill or pickup seal leak | Verify the level between the marks, inspect pickup tube sealing |
| Pressure high when cold, collapses only when fully hot | Oil sheared or diluted below the spec grade | Fresh correct-grade oil and filter, then retest |
Supporting checks that sharpen the picture
Several low-cost observations narrow the branch further. Cut the old filter open after removal: media packed with debris confirms a maintenance problem, while clean media with a deformed core suggests flow trouble elsewhere. Look under the valve cover with a flashlight: brown varnish is normal age, but chunky sludge predicts a restricted pickup screen. Smell the dipstick for fuel and look for a milky color from coolant intrusion, both of which thin oil and cut pressure. For high-mileage or fleet engines, a laboratory oil analysis adds wear metals and fuel dilution numbers that turn suspicion into evidence. Finally, test the sensor itself against its resistance or voltage specification, and inspect its connector for oil contamination, because a leaking sensor is one of the most common false alarms on the road.
Key point: one mechanical gauge reading at hot idle and at 2,500 rpm separates a false alarm from a real pressure problem, which is the decision that controls every dollar spent after it.
Where the Oil Filter Sits in the Pressure Path
The filter occupies a special place in this discussion because it is both a protective device and a potential restriction. Oil leaves the pump and passes through the filter media before entering the main gallery, so everything the pump builds can be lost at the filter housing. Three design elements decide how that trade-off behaves: the media area, the bypass valve calibration and the anti-drainback valve.
Media area and bypass behavior
A filter with generous media area loads up slowly, so the pressure difference across it stays low for the whole service interval. As media saturates, the differential grows until the bypass valve opens, sending unfiltered oil to the bearings rather than starving them. That is the correct priority: lubrication first, filtration second. The failure modes live at the corners of this design. A bypass valve that sticks closed starves the engine, one that sticks open permanently circulates unfiltered oil and accelerates bearing wear, and media that collapses under differential pressure can block flow outright. Quality control on valve calibration is exactly where budget filters cut corners, which is why filter choice is a pressure decision, not just a filtration decision.
Anti-drainback valves and dry starts
When an engine sits, oil drains from the filter and the galleries back to the sump unless the anti-drainback valve holds it in place. Every cold start then begins with a few seconds in which the pump must refill the system before pressure reaches the bearings. A worn or missing anti-drainback valve turns those seconds into the most damaging moments of the whole duty cycle, because the bearings run dry at every start. Repeated dry starts on a filter with a failed valve produce exactly the complaint this article is about: pressure warnings after parking, with the level still full.
Choosing a replacement that protects pressure
Match the original equipment number, confirm the bypass and anti-drainback valve specifications, and prefer suppliers who manufacture to OE drawings rather than repackaging unknown stock. When purchasing for a workshop or a fleet, working directly with a filter manufacturer or an established wholesaler also shortens the path between a field problem and a corrected production batch. The spin-on format below remains the most widely used architecture across trucks, SUVs and mainstream engines, and it shows how a correctly specified canister carries the whole pressure story in its valve calibration.
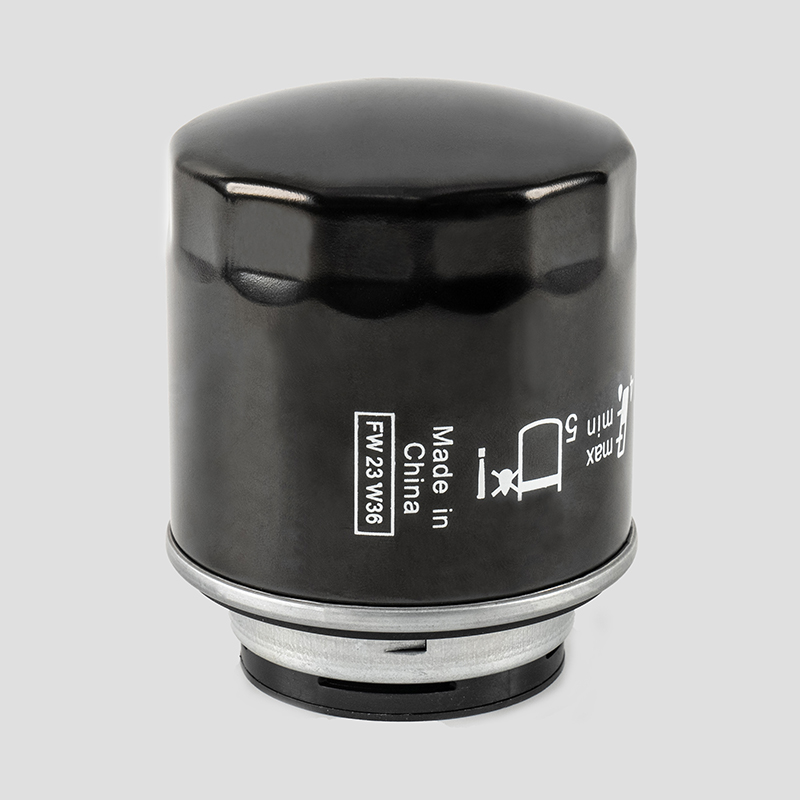 VW Jetta / Passat / Touran 1.4T Spin-On Oil Filter 03C115561EA spin-on oil filter matched to OE part number 03C115561E for 1.4T Volkswagen engines. With bypass and anti-drainback valves built to specification, it protects oil pressure instead of restricting flow.View Product →
Key point: the filter is the only part of the pressure path designed to restrict flow, so its media area, bypass valve and anti-drainback valve determine whether it protects pressure or steals it.
ECO Cartridge and Spin-On Oil Filters Compared
Two filter architectures dominate the market, and they fail in different ways, which matters when a pressure warning follows a filter service. Knowing which one your engine uses, and where each one hides its risks, turns a routine part swap into a controlled operation.
ECO cartridge oil filter
|
Spin-on oil filter
|
Both designs hold pressure reliably when they are built to specification and installed correctly, and both create low-pressure complaints when they are not. The cartridge type adds a housing gasket to the checklist; the spin-on type adds gasket discipline and counterfeit vigilance. Neither format is better in the abstract: the engine decides. What decides in every case is whether the replacement carries the same bypass cracking pressure and anti-drainback behavior as the original, because those two valves are the pressure insurance policy. European platforms with cartridge housings illustrate the point well, since a single missed O-ring seat turns an ordinary oil change into an aeration problem that looks exactly like pump wear at the dashboard.
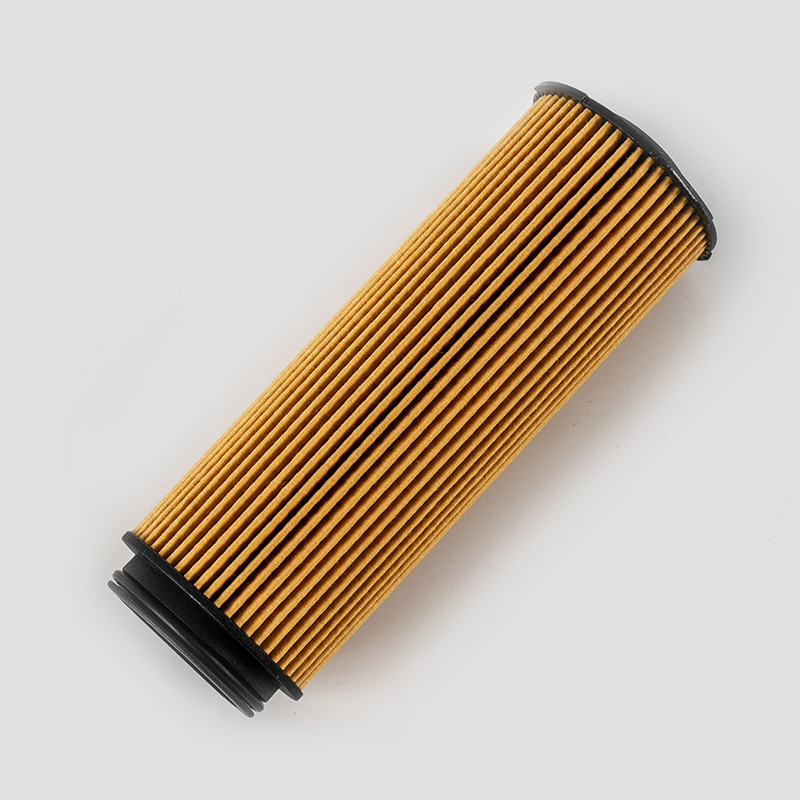 BMW 540Li / 640i / 740Li / X7 ECO Cartridge Oil Filter 11428583898A cartridge-type oil filter for BMW's European platforms, supplied under OE number 11428583898. Correct O-ring seating and OE-matched valve calibration keep it from causing aeration or low-pressure complaints.View Product →
Key point: ECO and spin-on filters keep pressure equally well when matched to OE valve specifications, and both fail predictably through seals and valves rather than through media alone.
Repair Costs: Why Early Diagnosis Pays
Money is the quiet reason this warning deserves immediate respect. The horizontal bar chart below compares typical repair bills for the main branches of this diagnosis, using common United States parts-and-labor ranges for passenger cars. Actual quotes vary with model, region and labor rates, sometimes by a factor of two. The shape of the comparison, however, travels across markets almost unchanged. It shows, better than any paragraph, why an hour of diagnosis is the highest-return purchase in this entire scenario.
The bars sort themselves into three economic zones. The first zone, the oil service and the sensor replacement, costs less than a pair of quality tires, and it covers the two most common genuine causes when the sump is full. The second zone, the sump service and the pump, runs from a few hundred dollars to a little over a thousand, and these are the interventions that rescue an engine before irreversible wear sets in. The third bar dwarfs everything else on the chart. Once bearings are damaged, the conversation moves from parts to machining, and from an afternoon of labor to a week without the vehicle. Notice that the order of the bars is nearly the inverse of the probability order in the donut chart above. That inversion is the entire argument for acting early instead of waiting. A driver who authorizes the gauge test and the sensor check immediately spends from the left edge of the chart. A driver who silences the message and keeps rolling is quietly choosing the bar on the right, because the failure it represents is a question of when, not if. The asymmetry also explains how reputable shops behave. They test before they replace, because installing a new sensor on a mechanically sick engine buys only a few weeks of false confidence and a second, angrier visit. For fleet managers and wholesale buyers the same logic scales across dozens of vehicles, which is why preventive oil and filter programs cost a fraction of the rebuild budgets they avoid. The cheapest bar of all, the routine oil and filter service, is also the only one that prevents several of the others.
Key point: the cheapest checks on the chart cover the most probable causes, while the most expensive outcome is the one that rewards delay the least, so authorize the gauge test early.
Prevention and Filter Sourcing for Workshops and Fleets
Everything in this article becomes avoidable with a short list of habits, none of which costs much. Each habit removes one segment from the cause chart, and together they remove most of the risk.
- Change oil and filter together, at the interval the manual specifies, and shorten it for severe service such as short trips, towing, dusty roads and extended idling.
- Buy the viscosity grade the manufacturer printed, not the one that happens to be on promotion that week.
- Use filters specified to the original equipment number, with correct bypass and anti-drainback valve calibration.
- Check the dipstick monthly and keep the level between the marks, since overfilling and underfilling both create pressure problems.
- Investigate any new valve train tick immediately; it is often the first audible sign of a pressure shortfall.
- For high-mileage engines and fleets, schedule periodic oil analysis to catch fuel dilution, coolant intrusion and wear metals early.
Filter sourcing is the habit with the longest leverage. Ningbo Heyuan Auto Parts Co., Ltd. (NBHY) is a China-based filter manufacturer and supplier with thirty years of design and production experience, producing air filters, cabin filters, ECO cartridge and spin-on oil filters, fuel filters, hydraulic filters and special filters, with an annual capacity exceeding fifty million units. Development runs on computer-aided design, production follows ISO/TS16949:2009 and ISO9001:2000 quality systems, and products are specified by OE number, vehicle model, year and displacement, which is the same matching logic parts counters use every day. For wholesalers, importers and fleet buyers, that combination of manufacturing depth and OE-cross accuracy is what turns a commodity purchase into a predictable one, and it is why correct cartridge geometry matters as much as the price on the quote.
The product families below show where a complete filtration program sits, from engine intake to cabin air, all held to the same OE-matching discipline.
Air Filter
Engine intake filtration, the largest NBHY product family, covering European, American, Japanese, Korean and Chinese platforms.
ECO Oil Filter
Cartridge elements for European and modern platforms, engineered with housing-seal compatibility in mind.
Spin-On Oil Filter
Complete canisters with calibrated bypass and anti-drainback valves for trucks, SUVs and mainstream engines.
Cabin Filter
Interior air quality parts matched to the same OE-number logic as the engine ranges.
Fuel Filter
Gasoline and diesel filtration for passenger cars, pickups and light commercial vehicles.
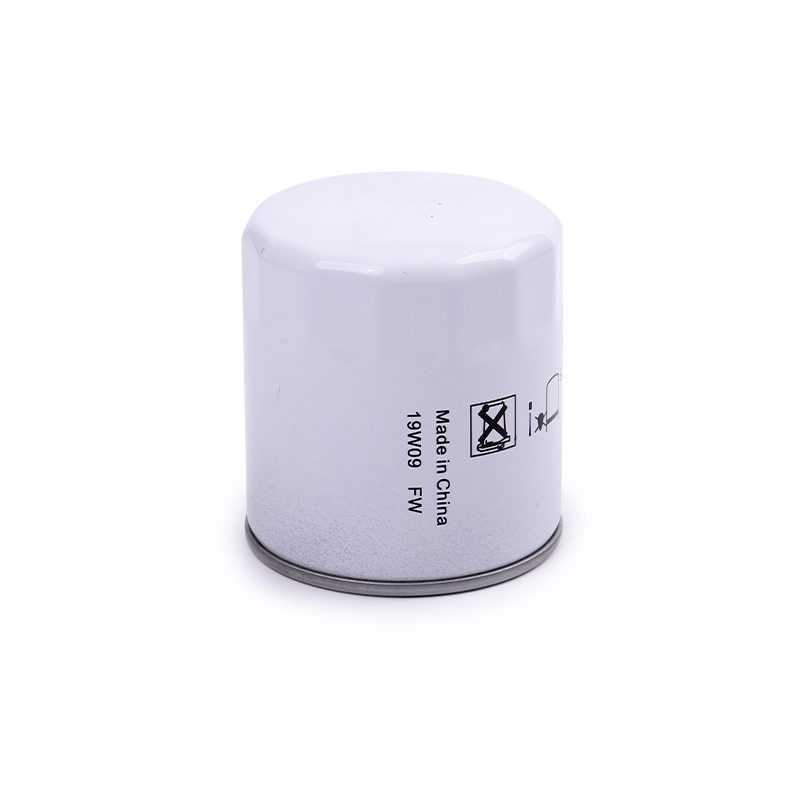 Ford Explorer Oil Filter 9W7E-6714-AAAn OE-reference oil filter for the Ford Explorer, covering passenger car, pickup and light commercial filtration needs. Combined with disciplined change intervals and correct viscosity, it helps keep low-oil-pressure warnings away.View Product →
Key point: disciplined intervals, the printed viscosity grade and OE-calibrated filters from a controlled manufacturer remove most of the causes on the chart before they can ever light the warning.
FAQ: Oil Pressure Low Stop Engine With a Full Oil Level
These are the questions mechanics hear most often about the oil pressure low stop engine warning when the dipstick reads full, with answers that hold for cars, SUVs and light trucks alike.
Why does my car say oil pressure low stop engine when the dipstick shows full?Because the message measures pressure, not level. The pump may be losing flow to a clogged filter, wrong viscosity, a stuck relief valve or worn bearings, or the sensor may be reporting falsely. Check the level and oil condition first, then have a mechanical gauge test done to split the mechanical causes from the reporting causes. |
Can I keep driving with the oil pressure low stop engine message showing?No. If the warning is accurate, every additional minute at low pressure wears bearings and cam journals that cost thousands to repair. Stop safely, verify the level, listen for noise, and drive only as far as the nearest service point if the engine is quiet and the level is correct. |
Can a clogged oil filter cause low oil pressure?Yes, and it is one of the most common causes. Saturated media raises the pressure difference across the filter, and if the bypass valve sticks or the media collapses, flow to the engine drops. Replacing the filter with a correct OE-spec part is both a fix and a diagnostic step. |
Why does the light come on at idle but go off when I rev the engine?Because pump output rises with engine speed, and a worn pump or widened bearing clearances can keep up at speed but not at idle. The same pattern can come from a drifting sensor or from oil that has thinned beyond specification. A hot idle gauge test tells the three apart. |
How do I know if it is only a bad oil pressure sensor?The engine runs quiet and smooth, with no ticking or knocking, and a mechanical gauge shows pressure within specification while the dash still warns. If the gauge and the dash disagree, the reporting path is the fault. If they agree, the problem is real and mechanical. |
Does oil viscosity really affect the warning?It does. Oil that is too thin drains through bearing clearances faster than the pump can supply it, and hot idle pressure falls below the threshold. Always install the viscosity grade listed in the owner's manual, and investigate fuel dilution or overheating if fresh, correct-grade oil still reads low. |
How often should the oil filter be replaced to keep pressure stable?Replace it at every oil change, with no exceptions for extended intervals. The filter protects the pump and the bearings, and its bypass valve only limits the damage of a saturated element rather than preventing it. On severe service, shorten both intervals together. |
What oil pressure is normal at hot idle?Most healthy passenger car engines hold roughly 10 to 20 psi at fully warm idle and well above 30 psi at 2,000 to 2,500 rpm, but the service manual value for the specific engine is the standard that matters. Pressures that drift downward over months deserve a diagnosis before they become warnings. |
Key point: almost every question above resolves into the same fork, real pressure loss versus false reporting, and a mechanical gauge test answers it in under an hour.
Key Takeaways
- The oil pressure low stop engine warning is a pressure alarm, so a full sump neither confirms nor clears it.
- With oil confirmed full, the most likely causes are a restricted filter, wrong or degraded viscosity, a failed sensor, a worn pump or stuck relief valve, and bearing or pickup restriction from wear and sludge.
- Stop the engine first, verify the level and condition, listen for noise, and let a mechanical gauge test separate reporting faults from mechanical ones.
- Act early: the cheapest checks cover the most probable causes, while the most expensive outcome is the one that rewards delay least.
- Filter quality is pressure insurance: correct OE-number matching, calibrated bypass and anti-drainback valves, and a supplier with genuine manufacturing control.
Key point: treat the warning as a pressure emergency, confirm the truth with a gauge, and let cheap checks and OE-spec filters decide the outcome before teardown ever becomes the topic.
Related Reading and Resources
For readers who want to go deeper into filter selection and function, the following resources from NBHY extend the topics covered above, from how each oil filter type works to the full oil filter catalog for ECO cartridge and spin-on applications.
- Types of oil filters and their functions
- NBHY oil filter catalog: ECO cartridge and spin-on replacements
Key point: understanding how each filter architecture works is the fastest route to choosing replacements that protect oil pressure instead of risking it.
Related Products
-
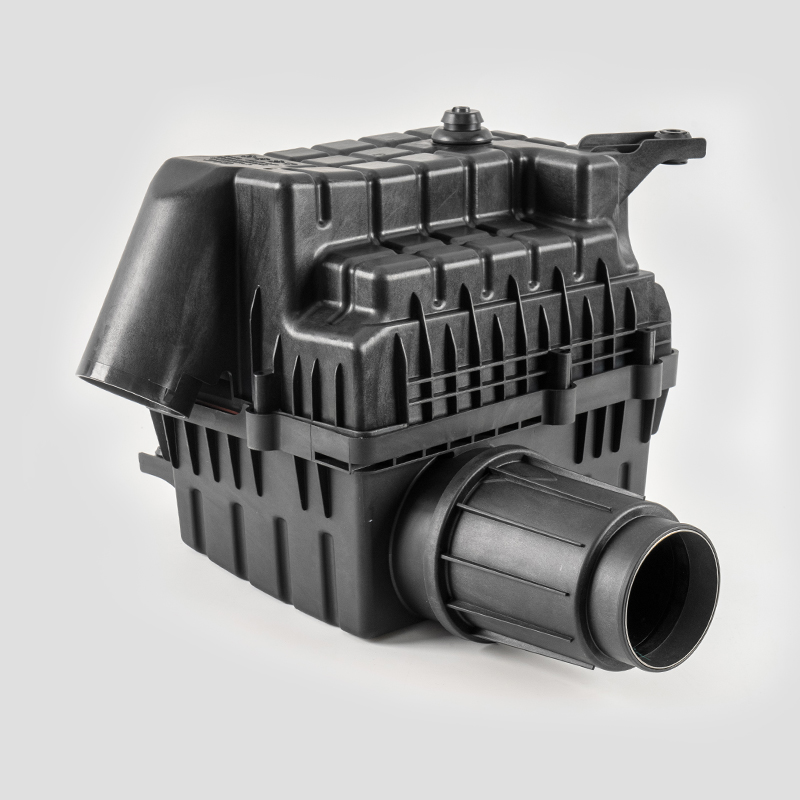
GAC A57 Automotive Engine Air Filtration System Housing Assembly
-
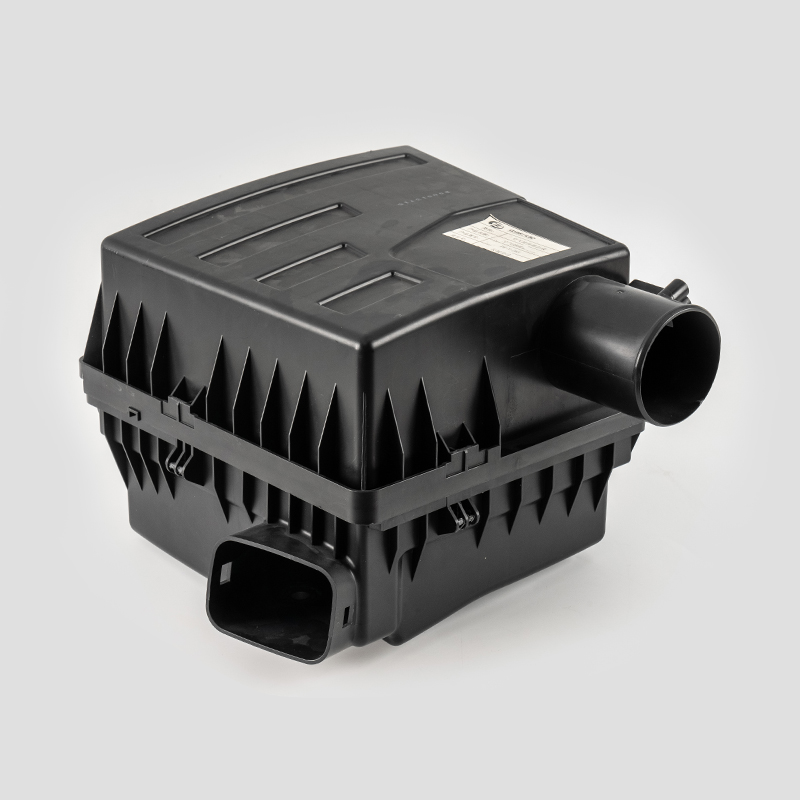
Great Wall A30 Automotive Engine Air Filtration System Housing Assembly
-
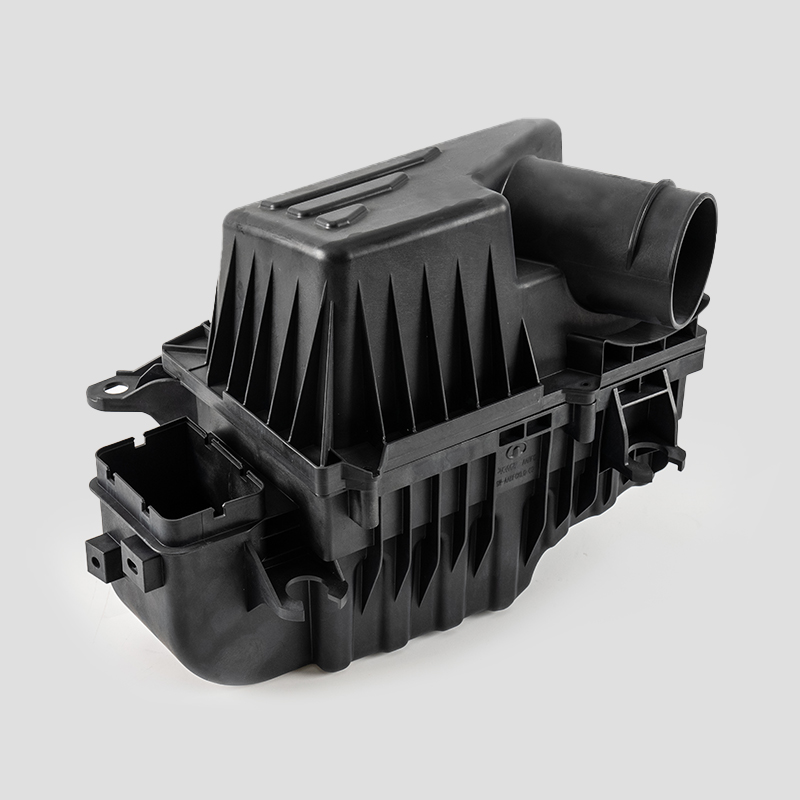
Great Wall B30 Automotive Engine Air Filtration System Housing Assembly
-
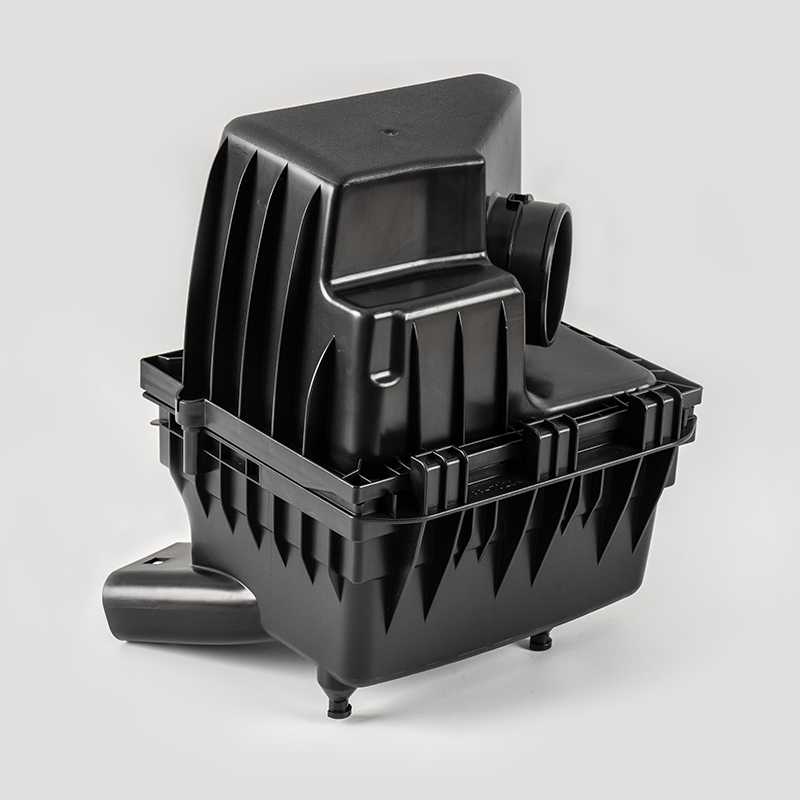
Great Wall Automotive Engine Air Filtration System Housing Assembly
-
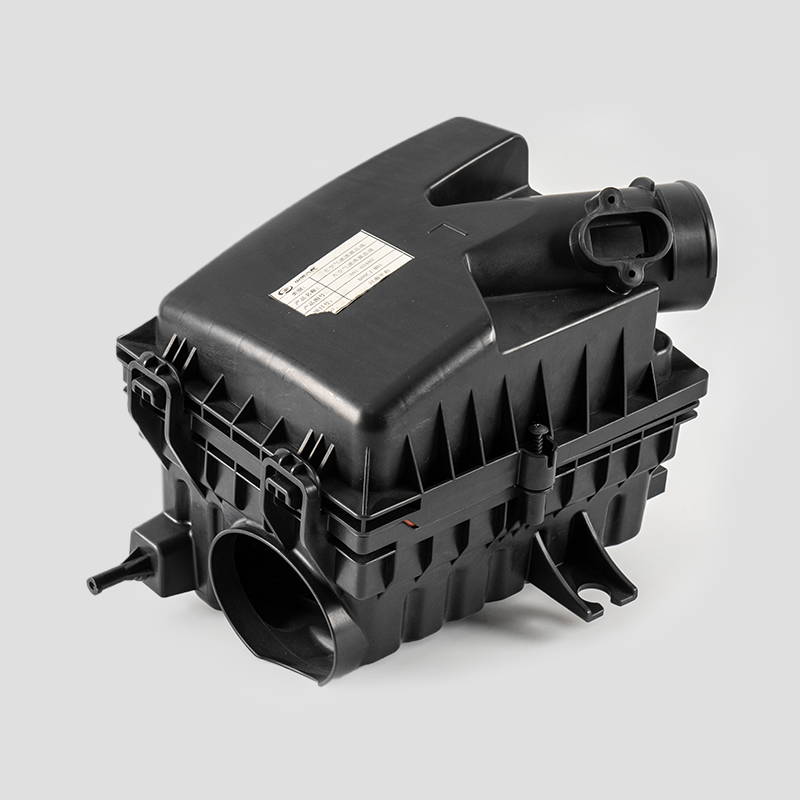
BAIC Automotive Engine Air Filtration System Housing Assembly
-
BAIC SUV Automotive Engine Air Filtration System Housing Assembly



Copyright © Ningbo Heyuan Auto Parts Co., Ltd. Rights Reserved. Custom Automobile Filter Parts Company OEM/ODM Automobile Filter Parts Manufacturer
